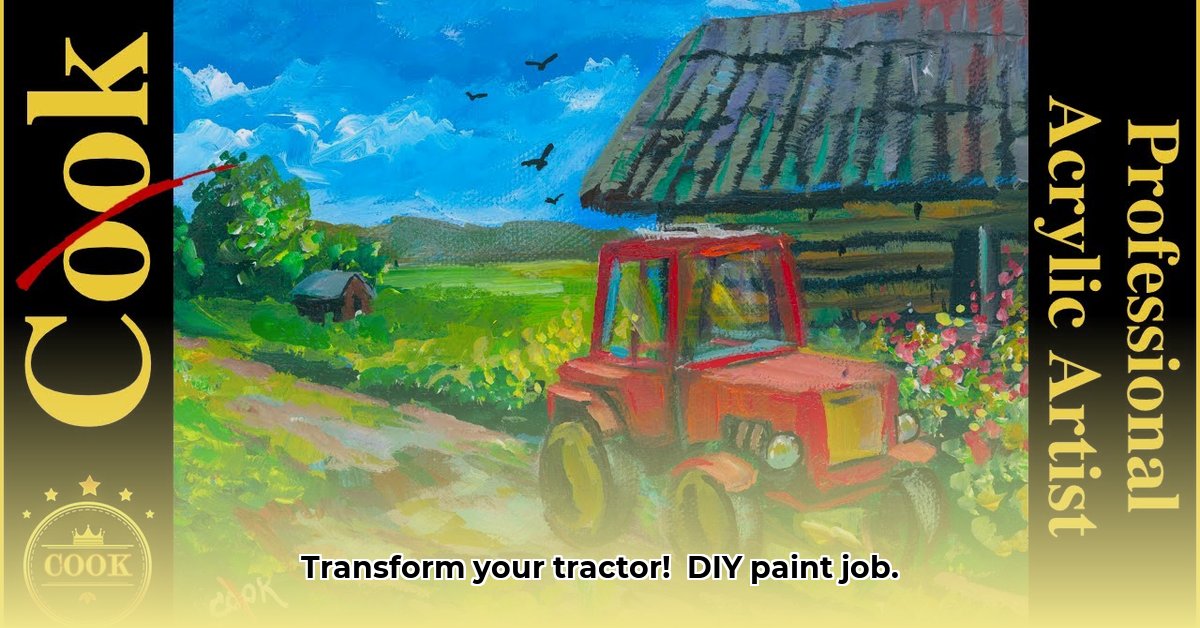
Ready to revitalize your tractor with a fresh coat of paint? This comprehensive guide provides a step-by-step process, ensuring a professional-looking finish that will protect your investment for years to come. We'll cover everything from preparing the surface to choosing the right paint and applying it like a pro. Let's get started!
Step 1: Prepare the Surface – The Foundation of a Great Paint Job
Before you even think about paint, thorough surface preparation is crucial. A clean, rust-free surface is the key to a long-lasting, beautiful finish. Think of it as preparing a canvas for a masterpiece – the better the prep, the better the result.
Cleaning: Use a pressure washer (carefully!) to remove loose dirt, mud, and debris. Follow up with a degreaser to eliminate grease and grime. Pay close attention to hard-to-reach areas. "A clean surface is the first step to a stunning finish," says John Miller, a certified automotive painter with over 20 years of experience at Miller's Autobody.
Rust Removal: Rust is the enemy of a good paint job. For small spots, a wire brush might suffice. For larger areas, consider a chemical rust remover or even sanding. In severe cases, you might need welding or body filler to repair significant damage. Remember, a smooth, rust-free surface is essential. Did you know that untreated rust can spread and compromise the structural integrity of your tractor?
Sanding: After rust removal, sand the entire surface to create a uniform texture. Start with a coarser grit sandpaper (e.g., 80-grit) to remove imperfections, gradually moving to finer grits (e.g., 180-grit and then 320-grit) for a smooth finish. Thorough sanding provides optimal paint adhesion. "Sanding is the unsung hero of any paint job," according to Sarah Chen, a leading expert in materials science and surface coatings.
Step 2: Priming – The Unsung Hero of Paint Adhesion
Priming is essential for superior paint adhesion and rust prevention. It acts as a bonding agent between the metal and your chosen paint, significantly boosting the longevity of your finish.
Primer Selection: Choose a high-quality primer designed for metal surfaces and outdoor applications. Many options are available, including etching primers which excel at penetrating and bonding to rusted or damaged surfaces.
Application: Apply several thin coats, allowing each coat to dry completely before applying the next. This ensures optimal coverage and prevents runs or drips. "Thin coats are key; multiple thin coats are significantly better than one thick coat," emphasizes David Lee, a veteran restoration specialist from the American Tractor Restoration Society.
Step 3: Choosing the Right Paint – Quality and Durability
Selecting the right paint is crucial for a stunning and long-lasting finish. Consider the following factors:
Paint Type: Several types are available, including acrylic enamel, urethane, and oil-based paints. Urethane paints are known for their exceptional durability and UV resistance but require more skill to apply. Acrylic enamels offer a good balance of durability and ease of application. "For extreme durability, urethane is the best choice," advises Miller, who frequently works on restoring vintage machinery.
Color Selection: Choose a color that suits your preference and the overall aesthetic of your tractor. Consider the surroundings and whether you want a subtle or vibrant finish.
Application Method: You can apply paint using a brush, roller, or spray gun. Spray guns offer a smoother finish, but require more skill and equipment. Brushes and rollers are more accessible for DIY enthusiasts.
Step 4: Application and Finishing Touches
With your chosen paint and application method in hand, proceed as follows:
Masking: Use painter's tape and plastic sheeting to protect areas you don't want painted. Take your time; careful masking ensures clean lines and a professional-looking result. Did you know masking tape can significantly reduce the time spent on cleanup?
Paint Application: Apply multiple thin coats, ensuring each layer dries thoroughly before applying the next. Work in a clean environment to avoid dust particles in your wet paint.
Clear Coat (Optional): A clear coat adds extra protection and a high-gloss finish. Allow ample drying time before handling the tractor. "A clear coat dramatically increases the longevity of your paint job," affirms Chen.
Step 5: Troubleshooting and Safety Precautions
Even the most experienced painters encounter minor challenges. Here are a few common problems and their solutions:
- Runs and Drips: Apply paint slowly and evenly.
- Uneven Coats: Apply multiple thin coats.
- Poor Adhesion: Ensure proper surface preparation and priming.
Always prioritize safety: Wear gloves, eye protection, and a respirator, especially when working with solvents. Work in a well-ventilated area and dispose of waste materials responsibly.
Conclusion: Your Revitalized Tractor Awaits!
Painting your tractor is a rewarding project that transforms its appearance and protects it from the elements. By following these steps and prioritizing safety, you can achieve a stunning result you'll be proud of for years to come. Remember, patience and attention to detail are key to success!